
Pay once, keep your memories for years — no subscriptions, ever20% off any paid plan — use code GUESTI20Try for free with our starter plan — no credit card requiredPay once, keep your memories for years — no subscriptions, ever20% off any paid plan — use code GUESTI20Try for free with our starter plan — no credit card requiredPay once, keep your memories for years — no subscriptions, ever20% off any paid plan — use code GUESTI20Try for free with our starter plan — no credit card requiredPay once, keep your memories for years — no subscriptions, ever20% off any paid plan — use code GUESTI20Try for free with our starter plan — no credit card requiredPay once, keep your memories for years — no subscriptions, ever20% off any paid plan — use code GUESTI20Try for free with our starter plan — no credit card requiredPay once, keep your memories for years — no subscriptions, ever20% off any paid plan — use code GUESTI20Try for free with our starter plan — no credit card required
Start free
Journal / Other events

Other events

Using QR Codes at Baby Showers and Christenings to Collect Photos and Messages

Collect photographs, family messages and wishes at baby showers, naming ceremonies and christenings with one QR code.

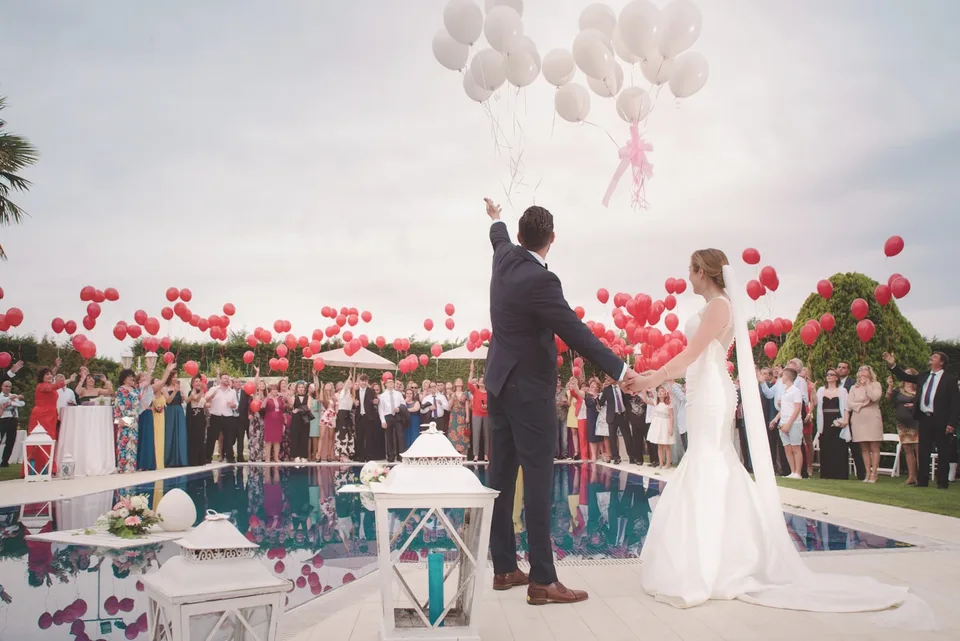
Family gathered for a bright daytime celebration

Baby showers, naming ceremonies and christenings are full of small interactions: relatives meeting, decorations made by friends, gifts being opened and children playing between formal photographs. A shared media page helps the parents receive those different viewpoints without monitoring a group chat during the event.

It can also become a gentle time capsule. Alongside pictures, invite guests to leave wishes, family stories or short voice notes for the child to hear later. Keep the language inclusive and adapt the prompts to the family's traditions and the purpose of the gathering.

Choose wording that fits the occasion

A baby shower might invite advice and predictions, while a christening or naming day may focus on promises, hopes and family welcome. Explain who will keep the collection and whether approved entries will be shared. Avoid assuming every guest relates to the family or ceremony in the same way.

Make this decision before designing signs or sending messages. Start with one clear requirement: use the child's or parents' names. Record the choice in the main event plan, then ask someone who was not involved in setting it up to try the journey. Their first hesitation will usually reveal where wording or navigation needs to be simpler.

  • Use the child's or parents' names
  • Offer a simple open-ended prompt
  • Welcome messages from absent relatives

Create a calm, recognisable design

Use colours and motifs from the invitation around a crisp QR code. Soft palettes still need a dark code on a sufficiently pale field. Add a plain-language instruction and no more than one line of explanation so the sign remains easy to understand from a table or doorway.

Keep the practical version straightforward. Keep decorative illustrations outside the quiet area. Use matte paper to reduce glare. Include a short fallback link. These are small details, but together they determine whether a guest acts immediately or decides to return later and forgets. Test under the same conditions in which people will actually use it.

  • Keep decorative illustrations outside the quiet area
  • Use matte paper to reduce glare
  • Include a short fallback link

Place the code near meaningful activity

Good positions include the welcome table, gift area, message station and dining tables. If guests are decorating keepsakes or writing cards, put the code nearby so they can add a digital message at the same time. Keep signs away from candles, food spills and children's reach.

It helps to assign one person to own this part of the plan. Give them three clear checks: use a stable frame or table tent; check the scan distance; and ask one family member to help older guests. Clear ownership prevents well-intentioned last-minute edits from creating two conflicting versions.

  • Use a stable frame or table tent
  • Check the scan distance
  • Ask one family member to help older guests

Protect family privacy

Decide whether photographs should appear to guests immediately, only after approval or remain private to the hosts. This matters particularly where children are pictured. Tell guests not to repost images publicly without the parents' agreement and avoid collecting unnecessary personal information.

Do a final check from a guest's point of view rather than the organiser's. Can they understand the next step in a few seconds? Can they complete it one-handed on a phone? Pay particular attention to two points: use host approval when appropriate, and share the event link directly. Keep the result calm enough to sit naturally within the event.

  • Use host approval when appropriate
  • Share the event link directly
  • Remove sensitive details after the event

Make a keepsake for later

Combine selected photographs with messages, scans of physical cards and a record of the day. Download original videos and voice notes as well as the visible album. A printed book can hold QR links to privately stored recordings, while the digital archive preserves the full contributions.

Plan the handover as carefully as the setup. Label speakers in voice notes. Record dates and locations. Keep an independent family backup. Once the celebration is over, write down where the final files or records live so the collection remains understandable without relying on memory or continued access to one service.

  • Label speakers in voice notes
  • Record dates and locations
  • Keep an independent family backup

A simple way to put the plan into practice

Start with the smallest complete version of the experience. Open the page as a guest, follow the main action and check what happens after it is complete. Then repeat the test on another phone and on mobile data. This catches unclear labels, inaccessible links and files that only work for the person who created them.

Work through the day in order: choose wording that fits the occasion, create a calm, recognisable design, place the code near meaningful activity, protect family privacy, and finally make a keepsake for later. Decide what guests need at each point and remove anything that belongs mainly to the organiser. The result should feel like a thoughtful part of the celebration, not a project-management system placed in front of guests.

Keep one private record of links, access details, publication choices and download deadlines. Digital event tools are most useful as a collection and communication layer; important photographs, videos and guest records should also be exported to storage you control. A short review after the event is the right moment to approve shared material, build albums and make independent backups.

Before sharing anything widely, run a small rehearsal with two people: one who knows the event well and one who does not. Ask them to describe what they think the page or sign is asking them to do, then watch without coaching as they complete it. Fix the first point of uncertainty, repeat the test and stop adding instructions once the route is self-explanatory.

Finally, decide what success means for this particular celebration. It may be a complete set of RSVPs, fewer repeated travel questions, photographs from every table or a thoughtful collection of family messages. A specific aim makes it easier to choose useful features, ignore distracting extras and review the result after the event.

Keep the tone consistent with the invitation and the people attending. A formal event can still use plain instructions, while a relaxed celebration still benefits from accurate dates and clear privacy choices. Read every guest-facing sentence aloud; if it sounds like software documentation rather than a personal invitation, shorten it and return the emphasis to the occasion.

© 2026 GuestiGram · Made with for every celebration
Pay once · No subscriptions